Using Angular 2 with Electron
This article will show you how to configure and use Angular components with Electron framework for creating cross-platform applications with web technologies.
This article will show you how to configure and use Angular components with Electron framework for creating cross-platform applications with web technologies.
You will get a link to finished working example hosted at GitHub at the end of the article.
The Quick Start guide should be more than enough to get started. Just follow the tutorial or get the finished result:
# Clone the repository
git clone https://github.com/electron/electron-quick-start

# Go into the repository
cd electron-quick-start

# Install dependencies and run the app
npm install && npm start
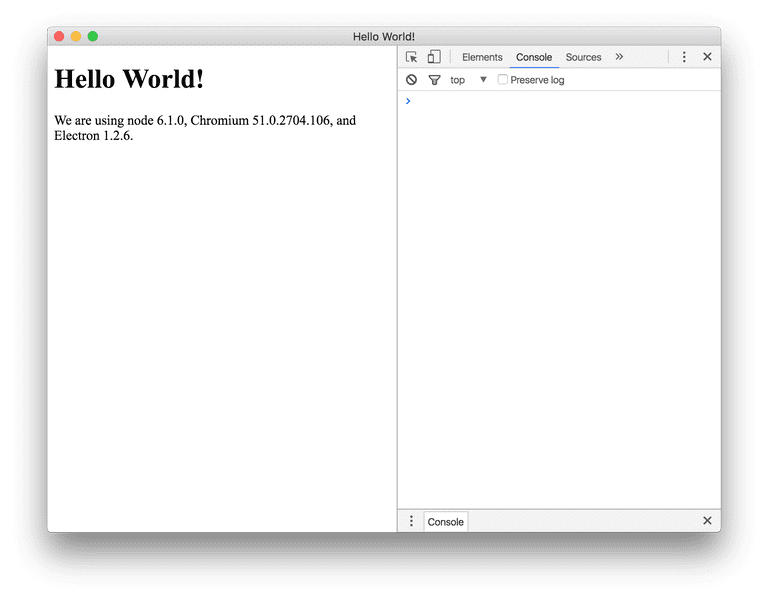
You should see something like the following:

Most of the steps needed to wire Angular with Electron can be taken from the Angular 5 min quickstart guide. This article will focus on bare minimum you may want to take.
Put the following files at your project root folder. You can generate a new one by running the following command:
npm init -y{
"name": "ng2-electron",
"version": "0.1.0",
"main": "main.js",
"scripts": {
"start": "tsc && concurrently \"npm run tsc:w\" \"electron .\" ",
"tsc": "tsc",
"tsc:w": "tsc -w"
},
"dependencies": {
"@angular/common": "~2.2.0",
"@angular/compiler": "~2.2.0",
"@angular/core": "~2.2.0",
"@angular/forms": "~2.2.0",
"@angular/http": "~2.2.0",
"@angular/platform-browser": "~2.2.0",
"@angular/platform-browser-dynamic": "~2.2.0",
"@angular/router": "~3.2.0",
"@angular/upgrade": "~2.2.0",
"angular-in-memory-web-api": "~0.1.15",
"core-js": "^2.4.1",
"reflect-metadata": "^0.1.8",
"rxjs": "5.0.0-beta.12",
"systemjs": "0.19.39",
"zone.js": "^0.6.25"
},
"devDependencies": {
"@types/core-js": "^0.9.34",
"@types/node": "^6.0.45",
"concurrently": "^3.0.0",
"typescript": "^2.0.3",
"electron": "^1.4.7"
}
}Note the changes start script, instead of running a web server you will be launching prebuilt electron instance for npm start command:
{
  "start": "tsc && concurrently \"npm run tsc:w\" \"electron .\" "
}
You will need installing new libraries once updating your package.json file:
npm installBy default Electron quickstart project is configured to show Developer Tools on startup. You can disable this behavior in main.js file if needed:
function createWindow () {
  ...
  // Open the DevTools.
  // mainWindow.webContents.openDevTools()
  ...
}
You will still be able opening Developer Tools via “View / Toggle Developer Tools”.
{
  "compilerOptions": {
    "target": "es5",
    "module": "commonjs",
    "moduleResolution": "node",
    "sourceMap": true,
    "emitDecoratorMetadata": true,
    "experimentalDecorators": true,
    "removeComments": false,
    "noImplicitAny": false
  },
  "exclude": ["node_modules"]
}
Please note the exclude option. This setting greatly improves performance when using Atom or IntelliJ for development.
/**
 * System configuration for Angular samples
 * Adjust as necessary for your application needs.
 */
(function(global) {
  System.config({
    paths: {
      // paths serve as alias
      'npm:': 'node_modules/',
    },
    // map tells the System loader where to look for things
    map: {
      // our app is within the app folder
      app: 'app',
      // angular bundles
      '@angular/core': 'npm:@angular/core/bundles/core.umd.js',
      '@angular/common': 'npm:@angular/common/bundles/common.umd.js',
      '@angular/compiler': 'npm:@angular/compiler/bundles/compiler.umd.js',
      '@angular/platform-browser':
        'npm:@angular/platform-browser/bundles/platform-browser.umd.js',
      '@angular/platform-browser-dynamic':
        'npm:@angular/platform-browser-dynamic/bundles/platform-browser-dynamic.umd.js',
      '@angular/http': 'npm:@angular/http/bundles/http.umd.js',
      '@angular/router': 'npm:@angular/router/bundles/router.umd.js',
      '@angular/router/upgrade':
        'npm:@angular/router/bundles/router-upgrade.umd.js',
      '@angular/forms': 'npm:@angular/forms/bundles/forms.umd.js',
      '@angular/upgrade': 'npm:@angular/upgrade/bundles/upgrade.umd.js',
      '@angular/upgrade/static':
        'npm:@angular/upgrade/bundles/upgrade-static.umd.js',
      // other libraries
      rxjs: 'npm:rxjs',
      'angular-in-memory-web-api':
        'npm:angular-in-memory-web-api/bundles/in-memory-web-api.umd.js',
    },
    // packages tells the System loader how to load when no filename and/or no extension
    packages: {
      app: {
        main: './main.js',
        defaultExtension: 'js',
      },
      rxjs: {
        defaultExtension: 'js',
      },
    },
  });
})(this);<!DOCTYPE html>
<html>
<head>
<meta charset="UTF-8" />
<title>Angular 2 with Electron</title>
<!-- 1. Load libraries -->
<!-- Polyfill(s) for older browsers -->
<script src="node_modules/core-js/client/shim.min.js"></script>
<script src="node_modules/zone.js/dist/zone.js"></script>
<script src="node_modules/reflect-metadata/Reflect.js"></script>
<script src="node_modules/systemjs/dist/system.src.js"></script>
<!-- 2. Configure SystemJS -->
<script src="systemjs.config.js"></script>
<script>
System.import('app').catch(function(err) {
console.error(err);
});
</script>
</head>
<!-- 3. Display the application -->
<body>
<my-app>Loading...</my-app>
<!-- All of the Node.js APIs are available in this renderer process. -->
We are using node
<script>
document.write(process.versions.node);</script
>, Chromium
<script>
document.write(process.versions.chrome);</script
>, and Electron
<script>
document.write(process.versions.electron);</script
>.
</body>
<script>
// You can also require other files to run in this process
require('./renderer.js');
</script>
</html>This step does not differ from the Step 2: Our first Angular component chapter of the 5 min quickstart. Please check original article for more details on implementation.
Create an app sub-folder at project root directory to hold the following files.
import { NgModule } from '@angular/core';
import { BrowserModule } from '@angular/platform-browser';

import { AppComponent } from './app.component';

@NgModule({
  imports: [BrowserModule],
  declarations: [AppComponent],
  bootstrap: [AppComponent],
})
export class AppModule {}import { Component } from '@angular/core';
@Component({
selector: 'my-app',
template: '<h1>My First Angular 2 App with Electron</h1>',
})
export class AppComponent {}import { platformBrowserDynamic } from '@angular/platform-browser-dynamic';
import { AppModule } from './app.module';
const platform = platformBrowserDynamic();
platform.bootstrapModule(AppModule);Now you are ready to run your application:
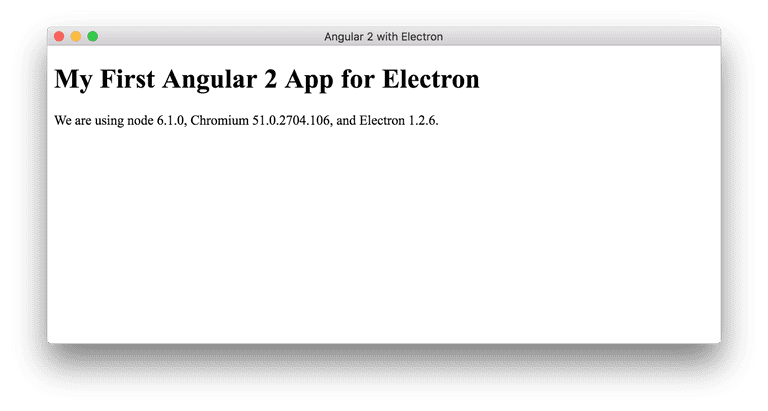
npm startThe start command compiles your TypeScript code and launches Electron instance with your application getting loaded automatically.

Also note that start command runs TypeScript compiler in watch mode. Every time you change your code it should be enough just reloading Electron via “View / Reload” or with Cmd-R (Ctrl-R for Windows).
You can the get full source code for this article from this GitHub repository: ng2-electron.